The word quilt can mean simply a blanket. However for some, the word is intertwined with memories of a cherished grandmother who provided warmth and a hug through a patchwork creation of love.
The language of quilting, is both simple and complex. It is a craft developed around a utilitarian skill, but unlike its fiber cousins, weaving and knitting, quilting can mean the entire process as well as the specific skill of sewing together the quilt sandwich.
The word quilting describes the task of sewing together two or more layers of fabric, with the modern quilt usually having two layers of fabric sandwiching a middle layer of fiber called batting or wadding. However, historically, the process often was used to bind together many layers of fabric in order to create a dense fabric structure used for armor.
The term quilting has also become synonymous with the process of making a quilt. Piecing the patches of a patchwork quilt is less often used. It is easier to say, “I am quilting,” and have yourself understood than it is to say, “I am piecing,” or “I am doing patchwork”. Plus, not all quilts are pieced or constitute patchwork. Whole cloth quilts and comforters are examples of quilted items that would not require piecing and would not be called patchwork. Plus there is also a category of quilts that are tied or tufted. These are still considered quilts by many (especially when they are patchwork in nature), but these have no quilting stitches.
So what is in a word – the word quilting? Is is just another English word that causes many to shake their head over the confusion of the English language? Or is it a word that is fluid, adaptable, and timeless? It can mean many things – different things to different people, and also many things to one.
In my dictionary it has many definitions. Including the following one.
Quilting is the process of making a hug.
________________________________________________
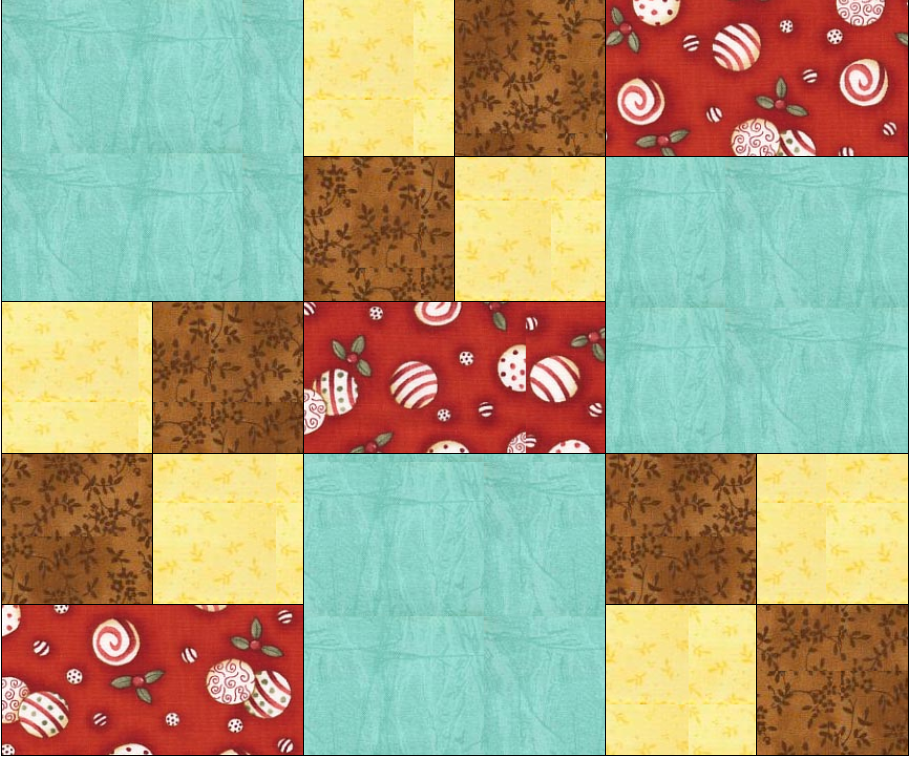
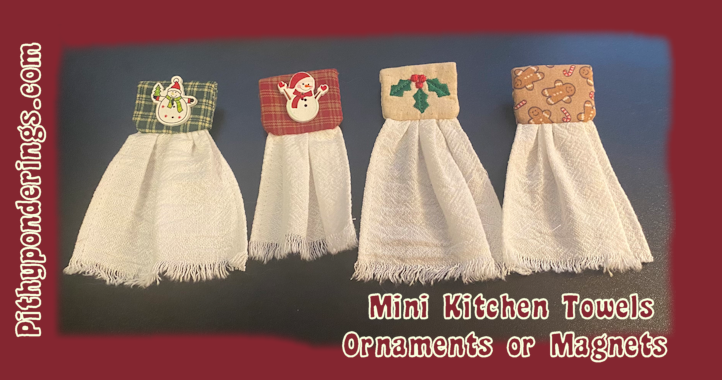
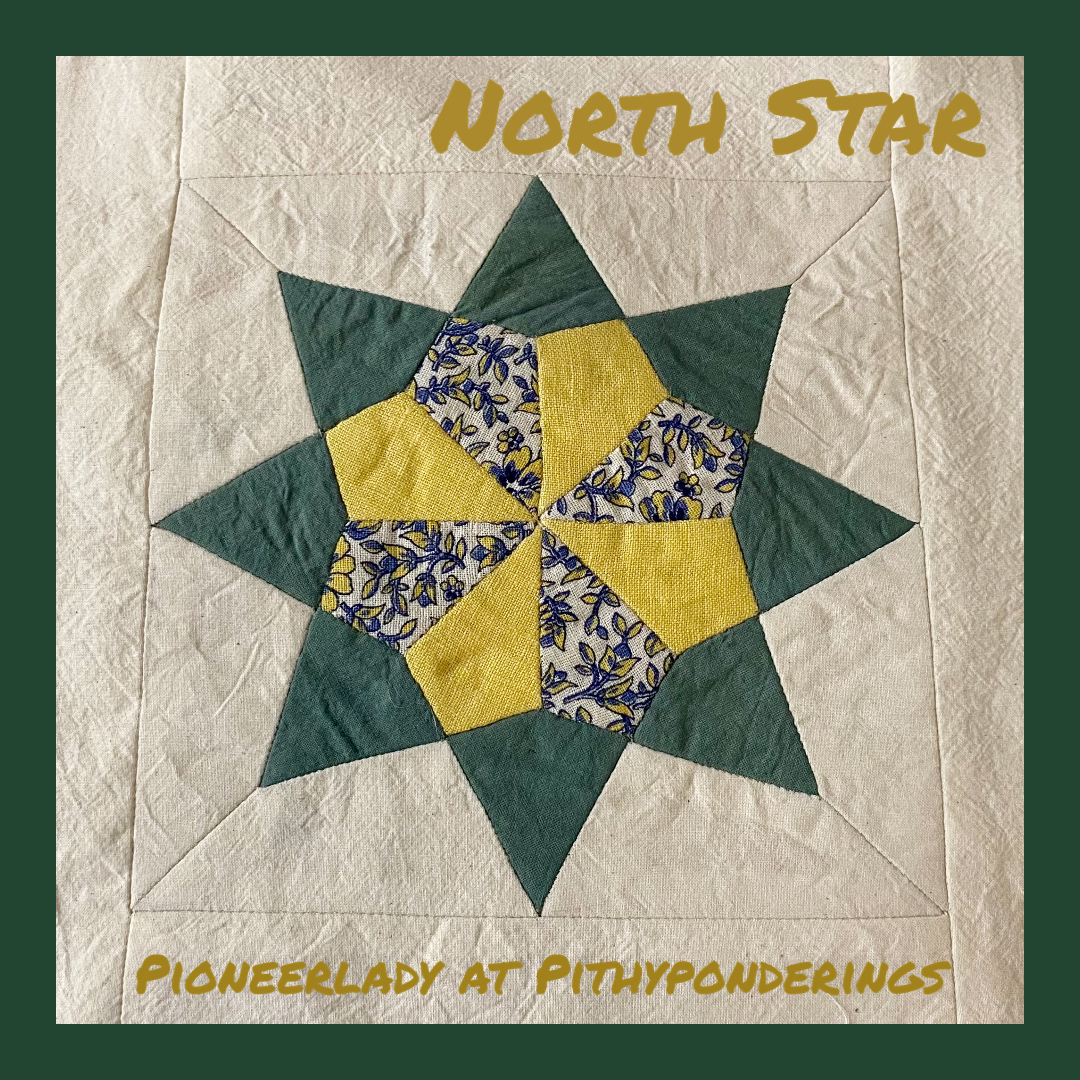
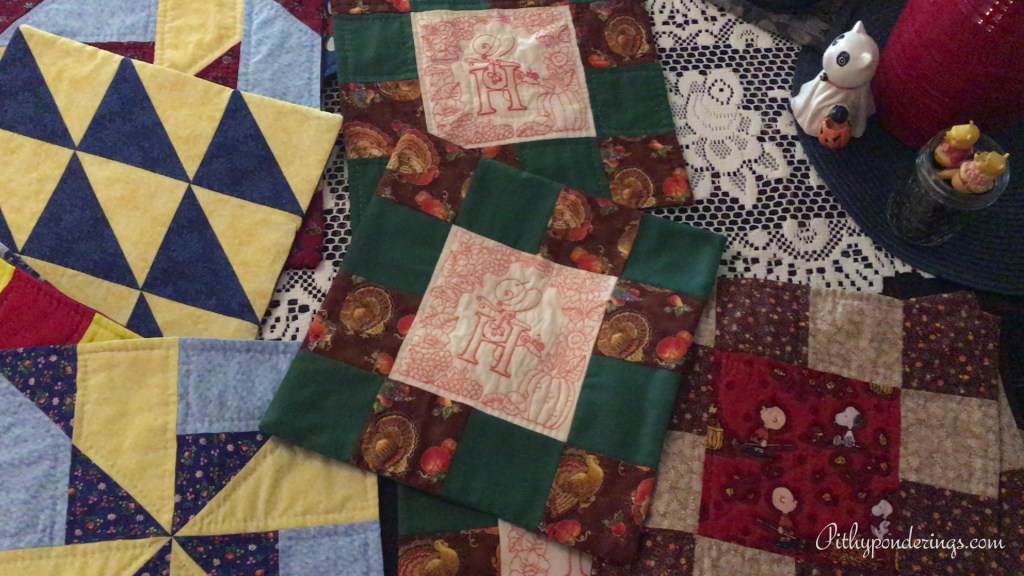
This week’s video shares a few more of the quilted items under construction in my home at the moment, as well as a couple finished quilts. I also have another patchwork block to share.